Every day, the software world is moving away from traditional software and hardware tools by replacing them with better and faster open source alternatives. Today, the most compelling open source alternatives for ARM embedded development are based on Eclipse. Setting up a perfect workflow for embedded software development with no licensing costs can be a daunting task if you don’t know where to start.
As I’m not a fan of Eclipse, I’ll show you how to configure VS Code for this task. I chose this IDE because it’s blazing fast, Intellisense always works and it supports extensive customization through plugins and configuration files.
In this tutorial we’ll use the ST-Link adapter for programming and debugging. If you want to go completely open-source, black magic probe has you covered.
Should I do this?
Well, it depends. If you are working on a large scale project you’re probably better off using traditional paid IDEs like uVision or IAR because of their wider compatibility across many product versions and operating systems. Also, if you are looking for a method of programming ARM Cortex devices which is royalty free and easier to setup you may want to check out VisualGDB, STM32CubeIDE or other Eclipse based alternative.
However, if you want the full power of Intellisense at your fingertips and faster build times this is the way to go. Trust me, it makes a whole lot of difference in development.
Prerequisites
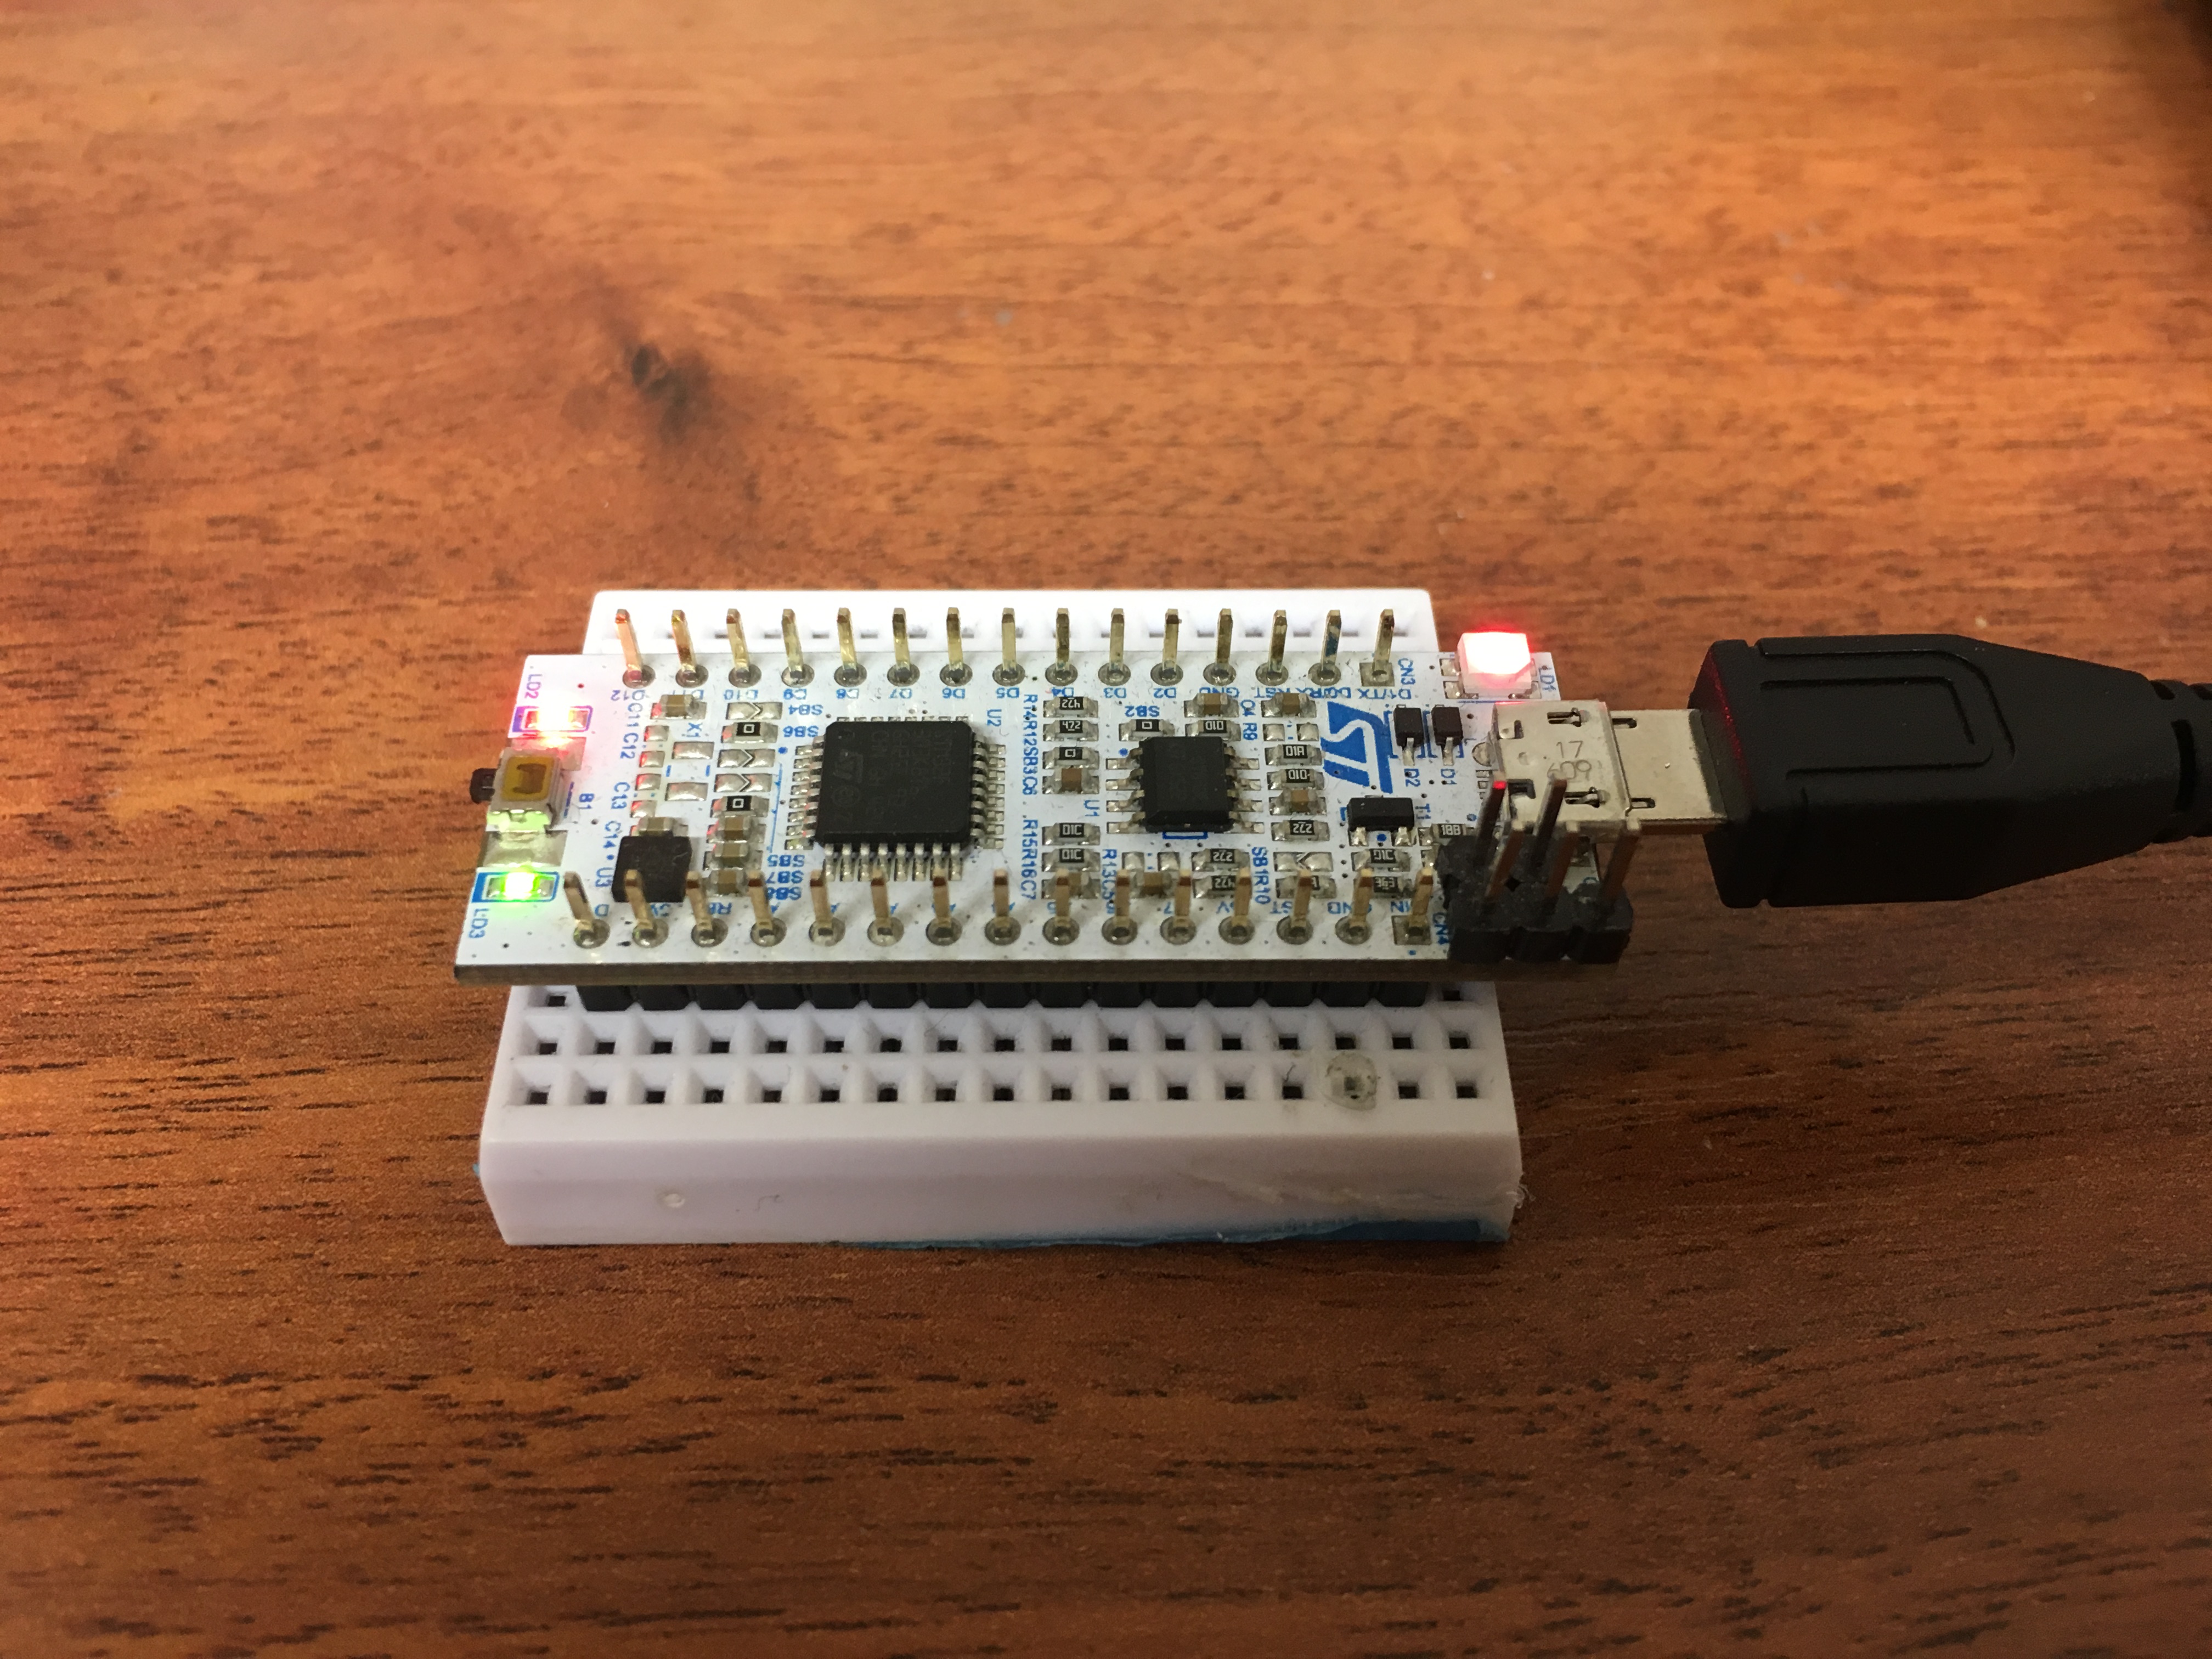
A NUCLEO-F303K8 development kit or similar ST board. For other boards you’ll need to update the configuration files with your processor name and series. All the external tools necessary to build and flash ARM Cortex embedded software will be placed in the VSARM folder.
- Create a folder named VSARM in C:/
- Visual Studio Code – https://code.visualstudio.com/
- STM32Cube initialization code generator – https://www.st.com/en/development-tools/stm32cubemx.html
- STM32CubeProgrammer – https://www.st.com/en/development-tools/stm32cubeprog.html
- Open Source ST Link Tools – https://github.com/stlink-org/stlink/releases
- Extract and place contents in C:\VSARM\stlink\
- GNU Embedded Toolchain for ARM – https://developer.arm.com/open-source/gnu-toolchain/gnu-rm/downloads
- Download and install the AArch32 bare-metal target, the installer should end in “mingw-w64-i686-arm-none-eabi.exe”
- Update the install location to C:\VSARM\armcc\
- MinGW-W64 – https://winlibs.com/#download-release
- From Win64, download the POSIX threaded, without LLVM/Clang/LLD/LLDB, Zip Archive
- Extract the contents and move the mingw64 folder to C:\VSARM\
Environment configuration
Open Environment variables setup dialog. Depending on your system configuration and administrative rights you may choose to modify either the User variables or the System variables. Make the following changes:
- Add C:\VSARM\armcc\bin to the Path variable in the variables pane
- Add C:\VSARM\mingw64\bin to the Path in the variables pane
- Add C:\VSARM\stlink\bin to the Path in the variables pane
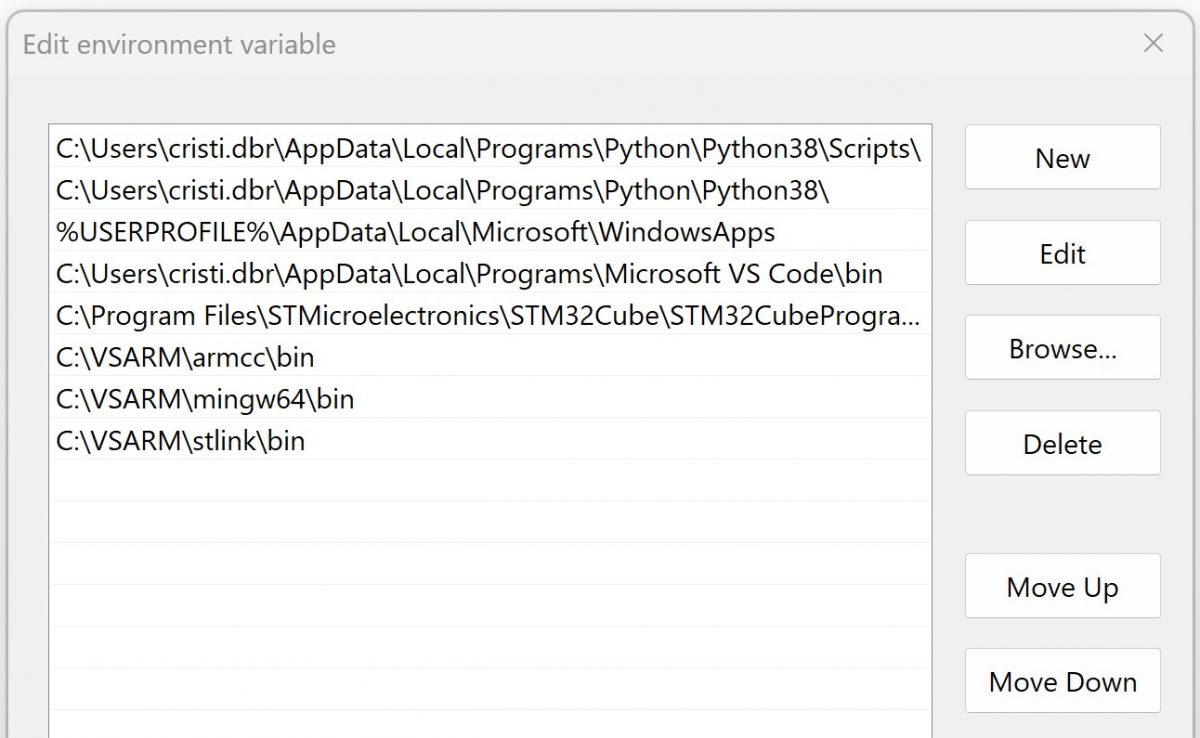
Make sure executable files are present in all of the sub-folders included above.
VS Code Configuration
After installing Visual Studio Code, open the IDE, navigate to Extensions tab or press Ctrl + Shift + X.
Install the following extensions:
- C/C++ – https://marketplace.visualstudio.com/items?itemName=ms-vscode.cpptools
- Cortex Debug – https://marketplace.visualstudio.com/items?itemName=marus25.cortex-debug
Press F1 and type user settings json. Select Open Settings (JSON). In the opened file, add the following property and save.
"cortex-debug.armToolchainPath": "C:/VSARM/armcc/bin/"
CubeMX example
Open CubeMX and create a new project. Search for your microcontroller and double click to create the project. Save the project as blink.ioc into its own folder named blink.
The GUI to edit peripherals will appear. Check your board schematics to find the pins for the LEDs. For the NUCLEO-F303K8 board, the LED is on PB3 pin. Click on the LED pin to change its function to GPIO_Output.

Save and click on generate the source code from the Project Manager tab.
The project settings dialog will appear. Make the following changes.
- Set the project name the same as the folder name (blink)
- Make sure the Toolchain IDE option is set to Makefile
- In the Code Generator side panel, make sure the Delete previously generated files when not re-generated option is unchecked

Click Ok and tap on the Generate Code button. Initialization code is now generated for the project.
STM32 Project Setup
The following three files have to be added to the .vscode folder in the root of the project.
c_cpp_properties.json
Press F1, type edit config and select C/CPP: Edit Configurations…. Replace the contents of the opened files with the following configuration.
{
    "configurations": [
        {
            "name": "STM32 arm-none-eabi-gcc",
            "includePath": [
                "${workspaceFolder}/**"
            ],
            "defines": [
                "STM32F303x8",
                "DEBUG",
                "USE_HAL_DRIVER",
                "USE_FULL_LL_DRIVER",
                "USE_FULL_ASSERT"
            ],
            "compilerPath": "C:/VSARM/armcc/bin/arm-none-eabi-gcc.exe",
            "cStandard": "c11",
            "cppStandard": "c++17",
            "intelliSenseMode": "windows-gcc-arm"
        }
    ],
    "version": 4
}
Adjust the defines section to match the microcontroller used. You can refer to the Makefile STM32CubeMX generates in order to determine what other defines should be added to the Intellisense config file.
tasks.json
Press F1 and type config task. Select Tasks: Configure tasks. Click on Create tasks.json file from template and select the Other option. The tasks.json file will open. Replace the contents of this file with the following and save the file.
{
    "version": "2.0.0",
    "tasks": [
        {
            "label": "build",
            "type": "shell",
            "command": "mingw32-make",
            "args": [
                "-j8",
                "all",
                "TARGET=vsarm_firmware"
            ],
            "options": {
                "cwd": "${workspaceRoot}"
            },
            "group": {
                "kind": "build"
            },
            "problemMatcher": []
        },
        {
            "label": "clean",
            "type": "shell",
            "command": "rmdir",
            "args": [
                "-Recurse",
                "-Confirm:$false",
                "build"
            ],
            "options": {
                "cwd": "${workspaceRoot}"
            },
            "group": {
                "kind": "build"
            },
            "problemMatcher": []
        },
        {
            "label": "flash",
            "type": "shell",
            "command": "STM32_Programmer_CLI",
            "args":
            [
                "-c port=SWD",
                "-e all",
                "-d ./build/vsarm_firmware.bin 0x8000000",
                "-v",
                "-hardRst",
                "-run"
            ],
            "options": {
                "cwd": "${workspaceRoot}"
            },
            "group": {
                "kind": "build"
            },
            "problemMatcher": []
        }
    ]
}
The configuration creates two tasks, one to build the project and another one to flash the microcontroller.
settings.json
The last file we have to add is a settings flag, since VS Code doesn’t allow users to have project-defined shortcuts.
{
    "workspaceKeybindings.firmwareTasks.enabled": true
}
Adding keyboard shortcuts
To make life easier, we’ll add shortcuts for build and flash tasks. Press F1 and search for keybindings. Open the JSON file and add the following shortcuts:
// Place your key bindings in this file to overwrite the defaults
[
    {
        "key": "f7",
        "command": "workbench.action.tasks.runTask",
        "args": "build",
        "when": "config.workspaceKeybindings.firmwareTasks.enabled"
    },
    {
        "key": "f8",
        "command": "workbench.action.tasks.runTask",
        "args": "flash",
        "when": "config.workspaceKeybindings.firmwareTasks.enabled"
    },
    {
        "key": "ctrl+f7",
        "command": "workbench.action.tasks.runTask",
        "args": "clean",
        "when": "config.workspaceKeybindings.firmwareTasks.enabled"
    }
]
Building and programming
Return to Visual Studio Code, press F1 and type list projects. Select the blink project. Edit the main.c file, then add some code to blink the LEDs.

For example:
HAL_GPIO_WritePin( GPIOB, GPIO_PIN_3, GPIO_PIN_SET );
HAL_Delay( 100 );
HAL_GPIO_WritePin( GPIOB, GPIO_PIN_3, GPIO_PIN_RESET );
HAL_Delay( 100 );
Save and press F5 to build and F6 to flash. If all has gone well, it should work perfectly on the first try.
Launch and debug configuration
Press F1, type launch and select Debug: Open launch.json. Choose the Cortex Debug option. Replace the contents of launch.json file with the following configuration. Or create the launch.json file from scratch.
{
    "version": "0.2.0",
    "configurations": [
        {
            "name": "Debug (STUtil)",
            "type": "cortex-debug",
            "request": "launch",
            "servertype": "stutil",
            "cwd": "${workspaceRoot}",
            "executable": "${workspaceRoot}/build/vsarm_firmware.elf",
            "device": "STM32F303K8",
            "v1": false,
            "svdFile": "${workspaceRoot}/STM32F303.svd"
        }
    ]
}
The Cortex-Debug extension for Visual Studio Code requires an SVD file to allow the inspection of peripheral registers. You can find a list of the SVD files for the most commonly used STMicroelectronics devices here: https://github.com/posborne/cmsis-svd/tree/master/data/STMicro.
Download the appropriate file for your processor and place it in the root of the project. Then, adjust the svdFile path in the launch configuration.

You can now start debugging by going to the debug pane or by pressing F5. If the SVD file is present, it will allow you to inspect the state of the peripheral registers.
Adding extra source files
When your code increases in size, you’ll want to separate it in different modules. For this, you have to add the C files path in the Makefile. STM32Cube does a great job keeping your changes when code is re-generated.

While this is an experimental approach and it takes some time to configure, I hope that the performance you can get out of it will convince you to consider this approach in production environments.
Speed Dial
If you have already set up your environment use the following commands to quickly set up configuration files for a new project.
mkdir .vscode
cd .vscode
curl -LO https://raw.githubusercontent.com/cristidbr/vscode-stm32-setup/win-x86_64/c_cpp_properties.json
curl -LO https://raw.githubusercontent.com/cristidbr/vscode-stm32-setup/win-x86_64/tasks.json
curl -LO https://raw.githubusercontent.com/cristidbr/vscode-stm32-setup/win-x86_64/settings.json
curl -LO https://raw.githubusercontent.com/cristidbr/vscode-stm32-setup/win-x86_64/launch.json
cd ..
This guide is dedicated to Windows users, for UNIX systems check out the macOS guide.
Changelog
This tutorial was updated to take into account the latest information, tools and features that became available since the initial post from 2018.
- Updated the command instruction to use STM32CubeProgrammer
- Removed the Project Manager extension configuration instructions
- Updated keyboard shortcuts to include clean task and added conditional flag
- Reduced the number of paths to include for IntelliSense
- Updated pictures for Windows 11
- Adds speed dial commands
Happy coding!